
Taking plant cuttings is a great way to expand upon your gardening practices; plus, it will allow you to replicate your favorite plants without costing you a dime!
Want to learn more? Keep reading for a quick guide from Home and Gardens on how to take your own plant cuttings!
Before You Start
Before you get started, there are a few things you should know.
First, it’s important to understand that cuttings cannot be taken from every plant; additionally, there are different methods of propagation. Determining which propagation technique to use for the chosen plant will help ensure all plants thrive.
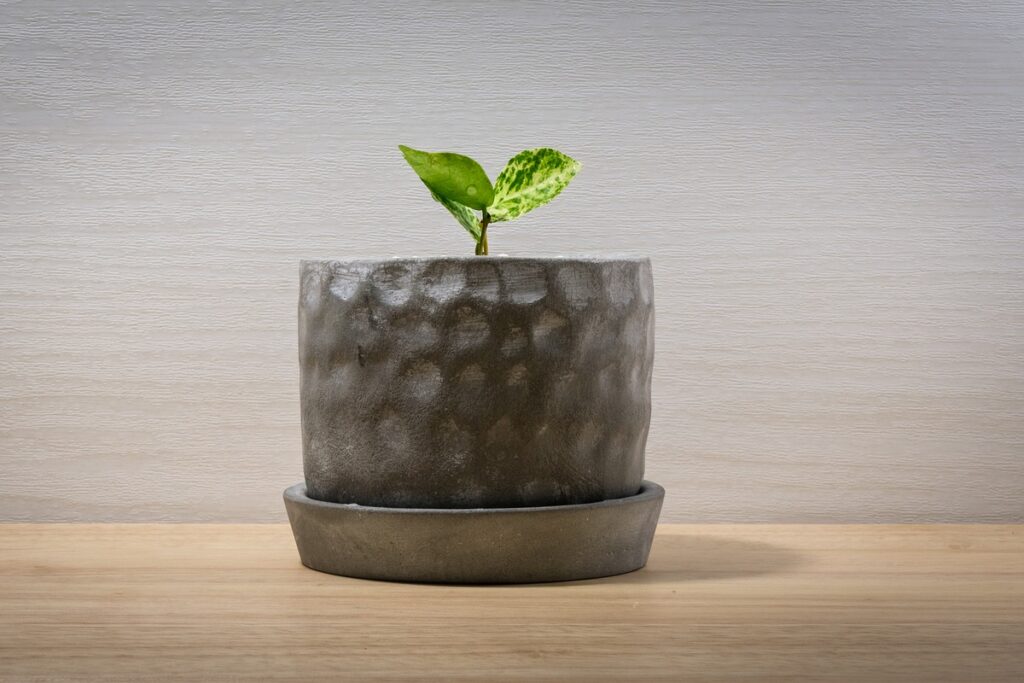
Plant cuttings are known to start taking root within two to three weeks. However, the best indicator is when the plants have new growth at their tips.
When to Take Plant Cuttings
When to start taking plant cuttings depends on the plants. According to an article by Empress of Dirt, softwood cuttings should be taken in the spring, semi-ripe cuttings should be taken in the summer, and any hardwood cuttings can be taken during fall or winter.
Quick How-To Guide on Taking Plant Cuttings
Choosing Where to Cut
Making the right choice of where to cut is one of the most important steps to propagation. By choosing the best possible growth, gardeners help ensure the cuttings thrive. It is best to always select a healthy, non-flowering stem.
For softwood and semi-ripe cuttings, it’s best to select an area that has toughened up and is not too delicate — these are typically areas with the most vigorous growth.
For any hardwood cuttings, look for growth that has had time to mature; the area’s thickness should be about pencil size.
Take the Cuttings
Clean tools should always be used when taking plant cuttings; this will help to minimize any risk of transferring diseases to the new plant. Additionally, it’s best to take plant cuttings in the morning, when the plants are full of water.
Planting Prep
To prepare the cutting for planting, leave only the top pair of leaves on the plant and remove the stem tip.
For hardwood cuttings, make a diagonal cut at the top of the plant, above the node.
Plant in Soil
Place a few cuttings in each pot, planting them deep in well-draining compost. The plants should have at least 1 node above the soil and 1 below.
Be sure to space the plants around the edge of the pot, placing them 2 inches apart. Placing the cuttings along the edge will encourage faster root formation.
Finally, make sure the cuttings don’t dry out. Water the compost both before and after planting.
Protect New Plants
The amount of protection a cutting will need depends on how delicate they are. Hardwood cuttings are naturally sturdier, while softwood cuttings are more delicate; because of this, hardwood cuttings don’t need much protection. Simply ensure the potting mix doesn’t dry out.
However, for softwood cuttings, it is best to make an enclosure, trapping the moisture around the plant. To do this, simply cover the container with a plastic bag.
All cuttings should be placed where they can receive a good amount of light, without getting direct sunlight.